Saturday, September 27, 2014

Bread Machine Basics 101


Bread Machine Basics 101

A friend talked me into getting a bread machine, and it is one of the best kitchen appliances I've ever bought.  I use it so often, that besides the coffee pot, it is the only appliance left out on my kitchen counter!  If you have thought about getting one or have one but haven't had much success, I encourage you to do two things.  First, read this guide for lots of hints and tips for successful baking, and second, for your very first loaf that is guaranteed to be a success, make my Best Bread Machine Bread.  Unlike some recipes, you don't have to add extra flour or water to get the dough "just right", and the dough will form perfectly allowing you to see what a perfect dough ball looks like.

Baking Bread

Tools:  You will need a liquid measuring cup, dry measuring cups, measuring spoons, a silicone spatula, and a thermometer.  An electric knife to slice the loaf is also extremely helpful.  I prefer to use a digital meat thermometer, and here is a link to the one I use as well as a link to my bread machine...the Oster Expressbake Breadmaker.

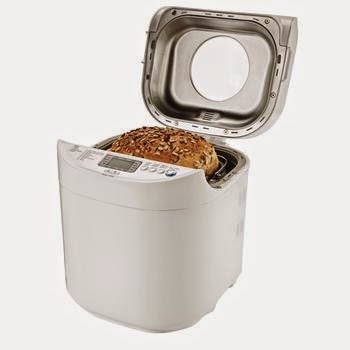
http://www.walmart.com/ip/Oster-Expressbake-Breadmaker/12399570
  
http://www.amazon.com/Polder-Safe-Serve-Instant-Kitchen-Thermometer/dp/B00881O8JM/ref=sr_1_3?ie=UTF8&qid=1411344476&sr=8-3&keywords=polder+meat+thermometer

 Ingredients

You will need a variety of ingredients, but the basics are bread flour (be sure to buy bread flour), water, milk, eggs, butter or vegetable oil, salt, sugar, active dry yeast, and bread machine yeast.
  
It's a good idea to start with all new, fresh ingredients (especially fresh flour and yeast).  Old flour can lack moisture, and older yeast can be on its way to becoming inactive.  Here is a great page that tells how to test if your yeast is fresh:  http://www.redstaryeast.com/lessons-yeast-baking/yeast-shelf-life-storage/yeast-freshness-test

Also, make sure ALL ingredients are at room temperature (between 77-85 degrees F) unless otherwise noted in the recipe.  Milk can be heated briefly in the microwave until the proper temperature is achieved, and whole eggs can be put in a cup of hot water for 5 minutes to safely bring them to room temperature.  If flour is stored in the refrigerator or freezer, measure out the necessary amount, and let it come to room temperature.  Cream cheese and butter should be softened.  Pumpkin, yams, squash, applesauce, pears, and mashed banana should be at room temperature before using.  Yeast should be stored in the refrigerator or freezer and can be added directly to the recipe without bringing it to room temperature.

If using buttermilk powder, it should be added after the flour.  Adding it directly to the water will cause lumps.

Use large-sized eggs

Baking with grains:  Purchase grains in small quantities and refrigerate to prevent fat from turning rancid.  If stored longer than one month, taste before using.  Cracked wheat, bulgur, and other grains absorb water and can impact the texture of a loaf, so to prevent grains from touching the water, level the flour into the corners of the baking pan, then measure grains on top.

Measuring Ingredients:  Exact measurements are key to successful bread baking.  With wet ingredients, use ONLY measuring cups with cups/ounces marked clearly on the side.  After filling the measuring cup, place it on a flat surface and view it at eye level to make sure the amount of liquid is exact.

With dry ingredients, always "level off" the measurement with the back of a knife to make sure the measurement is exact.  Never use the measuring cup to scoop the ingredients (like flour).  Fill the measuring cup with a spoon, then tap the side of the cup with a knife to remove air pockets.  Level off the measuring cup with a knife.

Order of adding ingredients:  Putting ingredients into the bread maker in the EXACT order given in the recipe is very important.  Follow your bread machine's instructions, but generally, this means:

FIRST, liquid ingredients
SECOND, dry ingredients
LAST, yeast

Before adding yeast, use your finger to form a well (hole) in the flour where you will pour the yeast.  In a bread machine, yeast must not come into contact with a liquid when you are adding ingredients.  Yeast should also not come in contact with salt before mixing, as salt will kill it. Cinnamon and garlic also inhibit rising and should be kept away from the yeast.

Checking Dough Consistency

 Many bread recipe books recommend helping the beginning 5-minute mix (knead) by scraping down the sides with a silicone spatula. All you have to do is leave the lid up and as the blade is turning, scrape down the sides and help the ingredients mix. 

Because the kneading action of different bread machines varies, it's important to check the consistency of bread dough after the first 3 to 5 minutes of kneading.  

If the dough looks dry and crumbly (see photo below) or forms two or more balls, add additional liquid, 1 teaspoon at a time, until one smooth ball forms.


If the dough has too much moisture and does not form into a ball (see photo below), add additional bread flour, 1 tablespoon at a time, until a ball forms.


Bread dough with the correct amount of flour and liquid will form a smooth ball and circle the pan nicely (see photo below).  Dough with nuts or fruit in it needs to be a bit stickier than regular bread dough in order to help the nuts or fruit stay incorporated in the bread.


If making a bread with fruit in it, this recipe has a helpful tutorial:  http://easyaspiecanbe.blogspot.com/2014/01/cranberry-orange-bread-recipe-and.html

Raising Dough for Oven-Baking

When using the dough cycle, you often need to let the shaped dough rise before baking.  For best results, a warm, draft-free area where the temperature is between 80-85 degrees is ideal.  I use my unheated oven.  Place the oven's lower rack in the lowest position and set a large pan of hot water on the rack.  Cover the shaped dough loosely with a dampened feed sack towel, and place it on the top rack of the oven.  (You can find these towels at Wal-Mart:  http://www.walmart.com/ip/Aunt-Martha-s-Dish-Towel-White/24660651)  Close the door and let the dough rise until nearly doubled, using the time suggested in the recipe as a guide.  Remove the dough and the water and preheat the oven.

Storing Bread

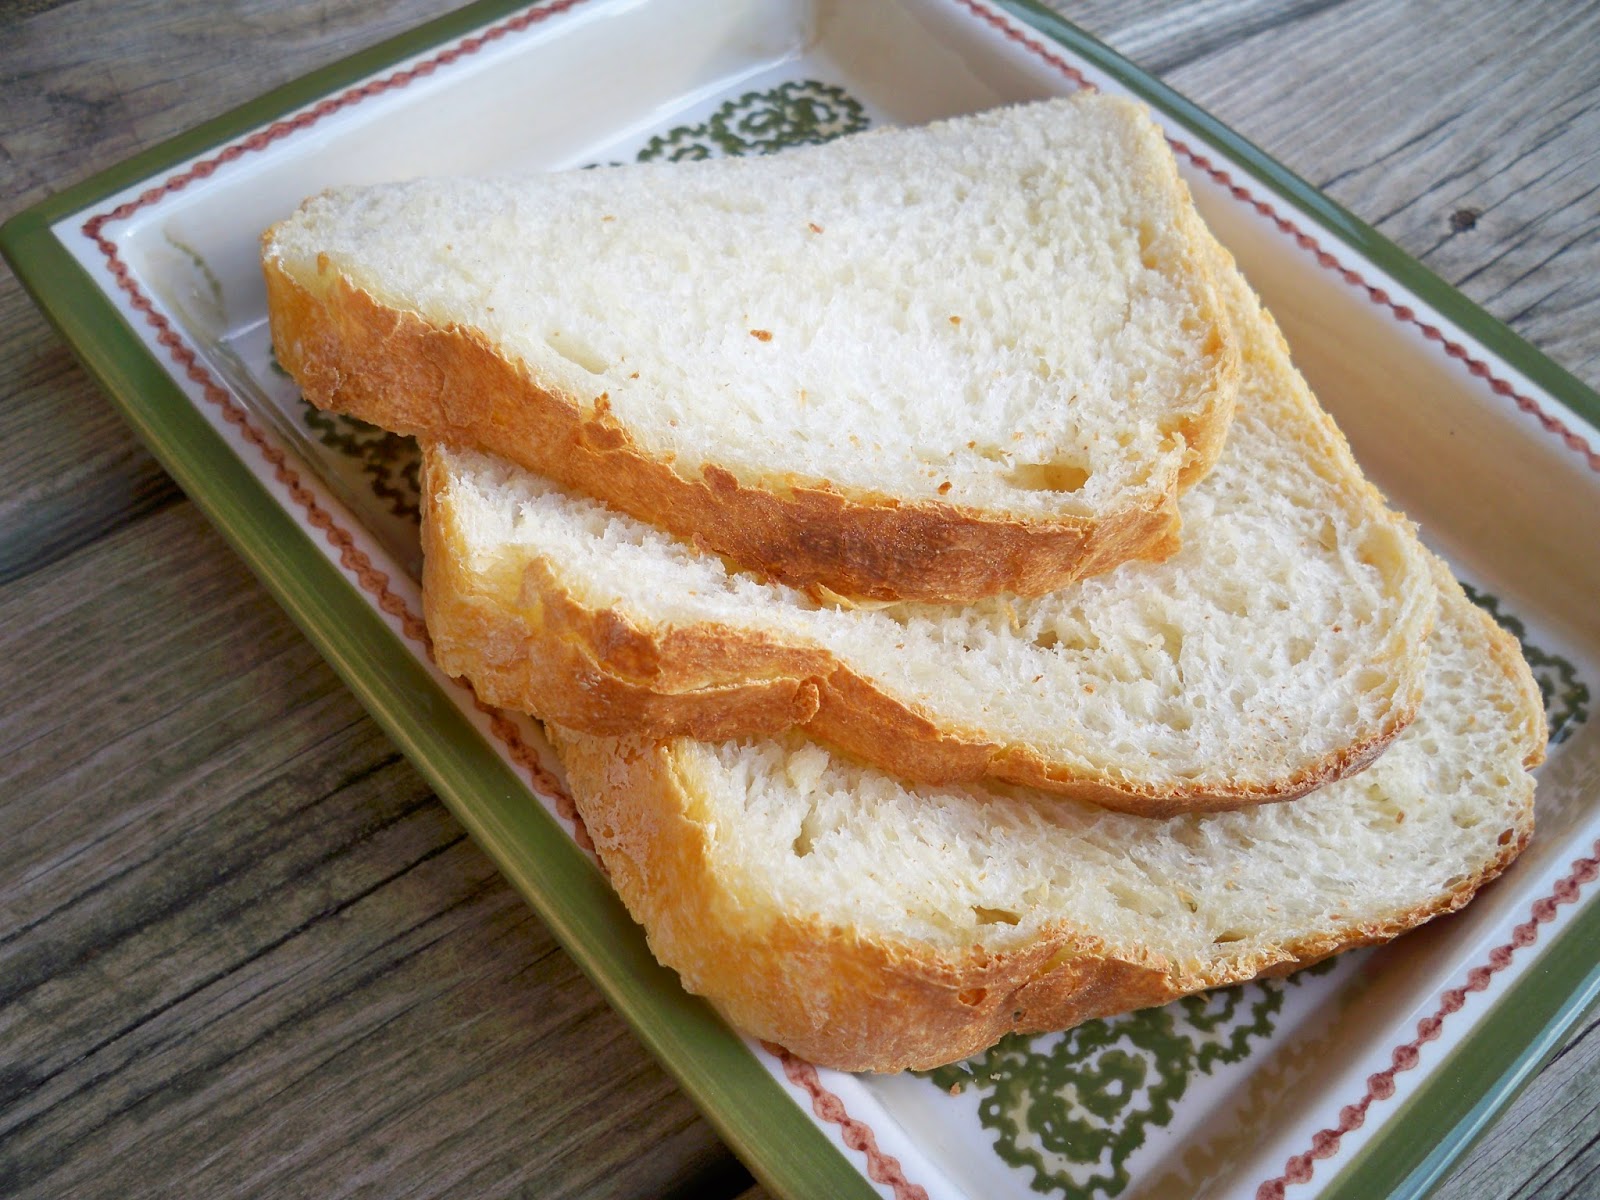
Remove hot bread from the machine as soon as it is done, and remove the bread from the pan following the manufacturer's directions.  Allow bread to cool for 15 minutes before slicing.  Once bread is completely cooled, wrap in plastic wrap or place it in a plastic bag.  Store it in a cool, dry place for up to three days.  


Sources

Better Homes and Gardens Best Bread Machine Recipes.  Des Moines, Iowa:  Meredith Corporation, 1997.

Oster 2lb Expressbake Breadmaker.  Boca Raton, Florida:  Sunbeam Products, Inc. doing business as Jarden Consumer Solutions, 2009.

Washburn, Donna and Heather Butt.  300 Best Bread Machine Recipes. Toronto, Ontario: Robert Rose, Inc., 2010


Friday, September 26, 2014

Best Bread Machine Bread Recipe and Tutorial


This recipe really is the best bread machine recipe especially for a beginner.  Even though it flies against bread machine "rules," it is foolproof and makes a soft bread with a flaky crust.


Best Bread Machine Bread

1 cup warm water (110 degrees F)
2 tbsp. white sugar
1 (.25 oz.) package active dry yeast (2 1/4 tsp.)
1/4 cup vegetable or canola oil
3 cups bread flour
1 1/4 tsp. salt

Place the water, sugar, and yeast in the pan of the bread machine.  Don't stir.  Let the yeast dissolve and foam for 10 minutes.  Add the oil, flour, and salt in that order, and don't stir.  Select Basic or White Bread setting, medium crust setting, and the 1.5 lb. loaf setting.  When finished baking, remove the loaf from the pan, and allow the bread to cool for 15 minutes before slicing.


The first time I used my bread machine, I used a mix, because I thought it would be an easy way to learn how to use my machine.  It was a disaster.  Who messes up a mix?  Me.  My friend Becky shared this recipe with me, and I'm so thankful she did, because this recipe gave me the confidence to try many others. ♥

Bread Machine 101 for Best Bread Machine Bread:

 Place the water, sugar, and yeast in the pan of the bread machine.  Don't stir:


 Let the yeast dissolve and foam for 10 minutes.  Here is what it will look like at the end of 10 minutes:


Add the oil, flour, and salt in that order, and don't stir.  When measuring the flour, don't "overpack" the flour into the cup.  To avoid this, fill the measuring cup to overflowing, then tap the side of the cup with a knife to remove air pockets.  Level off the measuring cup with the knife.  Pour the flour into the bread pan evenly covering the yeast mixture.  Make a small well in the middle of the flour where you will pour the salt.  Salt shouldn't come into contact with yeast as it will kill it:


Select Basic or White Bread setting, medium crust setting, and the 1.5 lb. loaf setting.  Here is what the dough will look like after 1 minute:


After 7 minutes...the dough has come together and is circling the pan:


After 17 minutes:


After 31 minutes...the dough ball is smooth, round, and dry and circles nicely in the pan.  It is now ready for the first rise:


After the first rise, the dough will be punched down, will rise again, will be shaped, will rise one more time, and then will bake.  Enjoy!  :)


Friday, September 19, 2014

Blond Brownies


These rich, chewy blondies are made with brown sugar, butter, vanilla, and chocolate chips.  They make a quick, easy treat for lunch boxes or to serve as a dessert.


Blond Brownies

1/2 cup butter
1 1/2 cups brown sugar, packed
2 eggs, beaten
1 tsp. vanilla
1 1/2 cups flour
1/2 tsp. baking powder
1/2 tsp. salt
1 cup semisweet chocolate chips 

Preheat oven to 350 degrees (325 degrees for glass bakers).  Melt butter; gently stir in all remaining ingredients except chocolate chips just until mixed.  Spread into a greased 9x13 pan.  Sprinkle with chocolate chips.  Bake at 350 degrees for 20-25 minutes.  Cool; cut into bars.


Friday, September 12, 2014

Slow Cooker Cube Steak with Gravy


This recipe's name should be Slow Cooker Gravy with Cube Steak, because while the meat is deliciously tender, the gravy is the star.

Can of water and cornstarch for gravy not pictured.  Slow Cooker Liners aren't necessary but make cleaning a breeze.


Slow Cooker Cube Steak with Gravy

1 (10-3/4 oz.) can condensed cream of mushroom soup, undiluted
1 packet brown gravy mix
1 packet au jus gravy mix
1 (10.5 oz.) can French onion soup, undiluted
1 soup can of water
1 1/2 to 2 pounds cube steak
2 tbsp. of cornstarch for the gravy

In a medium bowl, combine mushroom soup and packets.  Slowly add French onion soup stirring well.  Add water in the same manner.  Put cube steak in a 6 qt. slow cooker.  Pour soup mixture over cube steak.  Cover and cook on low for 6-8 hours.

Gravy:  30 minutes before you're ready to serve, in a small bowl, mix 2 tbsp. of cornstarch with just enough cold water to make the mixture a liquid.  Remove meat from slow cooker, turn the slow cooker on high, and stir in the cornstarch mixture.  Put the lid back on.  When the gravy starts to boil around the edges, put the meat back in, leave it on high, but leave the lid off so that the gravy can thicken a bit more.

 Click here for printable format

If you are sensitive to salt, use lower sodium options for the packet mixes and soups.  After cooking, if the gravy still tastes a bit too salty for you, add a little cream or brown sugar to the gravy.

My Crock Pot brand slow cooker cooks hot and fast, so the meat is done after 5 hours, and I'm ready to start making the gravy.  If you're not sure if your slow cooker cooks hot and fast or low and slow, I would plan for a 6-hour cook time but check the meat at 5 hours.  See below for more slow-cooking tips. 

Slow Cooking 101:  http://easyaspiecanbe.blogspot.com/2014/09/slow-cooking-101.html


Thursday, September 11, 2014

Slow Cooking 101

My favorite slow cooker...GE Model #169200

Slow Cooking 101

Growing up, my mom used a slow cooker occasionally, and as an adult, I used one from time-to-time, as well.  Mostly for the tried and true dishes that everyone makes in a slow cooker...roasts, beans, chili, and so forth.  A few summers ago, we had a horrible heat wave, and I wished I had a few more slow-cooking recipes up my sleeve so we could be eating good meals without heating up the kitchen. 

So my quest for good slow cooker recipes began, and I also bought a new 6 qt. slow cooker.  I was quite surprised to find that even on low, recipes were getting done much faster than the stated times.  From research, I found that newer slow cookers are cooking at temperatures significantly higher than in the past. Due to concerns about food safety and bacterial growth in the danger zone of 40 degrees F to 140 degrees F, slow cooker manufacturers have increased the cooking temperatures. 

So here is some general slow cooking information, including helpful tools, and also some ways to manage slow cookers that cook fast and hot.


General Information

*Get to know your slow cooker.  When you buy a new one and use it for the first time, be at home so you can make sure that everything is working correctly.  Make recipes exactly as written, and test for doneness at the minimum cooking time.

*Always use a meat thermometer to check that meats, including chicken, beef, pork, and seafood, are cooked to the correct final temperature. 

*One hour on high equals 2 to 2-1/2 hours on low.

*Do not make a recipe the night before and refrigerate it in the ceramic insert.  The cold ceramic insert will likely crack when heated in the liner.  Instead, put the ingredients in a different container and transfer them to the slow cooker in the morning.

*When making a cobbler, something with a crust, or something where you don't want the top to get wet from condensation (like a casserole), lay a sheet of paper towels across the top of the insert before putting on the lid.  The paper towels will prevent the condensation from dripping onto the top of your recipe.
One hour on high equals about 2 to 2 1/2 hours on low
Read more at http://www.sixsistersstuff.com/2012/09/15-helpful-tips-when-cooking-with-slow.html#O4OErB6RYUxeRMTJ.99
One hour on high equals about 2 to 2 1/2 hours on low
Read more at http://www.sixsistersstuff.com/2012/09/15-helpful-tips-when-cooking-with-slow.html#O4OErB6RYUxeRMTJ.99

*From America's Test Kitchen:  If you’d like to check your slow cooker’s temperature, just perform a simple water test: Place 4 quarts of room temperature water in your slow cooker, cover, and cook on high or low for six hours, then measure the temperature of the water with an instant-read thermometer. It should register between 195°–205° to yield the best results. If yours runs hotter or colder, be ready to check the food for doneness either earlier or later than suggested cook times.

From tipnut.com:
*If not using a liner in a ceramic crock, apply a bit of non-stick spray around the inside before adding food items to help prevent food from sticking.

*Make sure to fill halfway with ingredients to keep the dish from burning…don’t fill it too full, though.  You want it no more than 2/3 full or the dish will need to simmer longer to prevent it from being undercooked.

*Carefully remove the lid by lifting it straight up then over. This will help prevent much of the condensation from running back into the dish, which just dilutes the sauce consistency and flavor.

*Unless the recipe instructs you to do so, do not lift the lid to stir or peek at the dish. This lowers the temperature inside and the meal won’t be ready within the allotted time.  Every time the lid is raised, 20 minutes needs to be added to the cooking time.

*Cleaning:   To prevent damage to the ceramic piece, allow to completely cool before adding water to clean. If you’re in a hurry and need it done right away, make sure to use hot water instead of cool water to protect it from cracking.

From foodnetwork.com:
*Loading a slow cooker with icy ingredients will keep food in the danger zone where bacteria can flourish (40 to 140 degrees F). So make sure your meat and vegetables are fully thawed before turning the cooker on. The exception: Prepackaged slow-cooker meals sold in the freezer case are fine to use as long as you follow the package's directions.

*Trim fat: For silky sauces and gravies, take a minute or two and cut the excess fat from the meat. Skip this step and you risk ending up with oily, greasy cooking liquid. When possible, remove chicken skin too.

*Layer wisely: For even cooking, cut food into uniform-size pieces. Place firm, slow-cooking root vegetables like potatoes and carrots at the bottom of the crock and pile the meat on top.

*Adjust for high altitude: For high-altitude cooking, add an additional 30 minutes for each hour of time specified in the recipe. Legumes take about twice as long as they would at sea level.


Helpful Tools

*Slow cooker liners make for easy cleanup and are available at Wal-Mart and other discount stores:


*The Lid Pocket holds your lid and catches condensation.  I have used it on my 2 qt. round and one of my 6 qt. oval slow cookers.  Just an FYI:  I have found it only works on ceramic inserts.  It does not fit my GE 6 qt. oval that has a non-stick insert.  It can only be ordered online, and the link to order is below the photo:


http://lidpocket.com/

Slow Cookers that Cook Too Hot and Too Fast

*From America's Test Kitchen:  Most slow cookers have a hotter side (typically the back side, opposite the side with the controls) that can cause dense dishes, like casseroles, to burn. To avoid this problem, layer and fold sheets of aluminum foil into a rough 16 by 4-inch strip and press it into the back side of the cooker before adding any ingredients; the collar will form a barrier to help prevent food from burning while cooking. 

*Another thing you can try if your slow cooker has a hotter side, is halfway through the cooking time, lift the insert out, rotate it 180 degrees (halfway around), and place it back into the liner.  The back of the insert will now be at the front so will be away from the hotter side. 

*A tip mentioned earlier:  Get to know your slow cooker.  When you buy a new one and use it for the first time, be at home so you can make sure that everything is working correctly.  Make recipes exactly as written and test for doneness at the minimum cooking time.